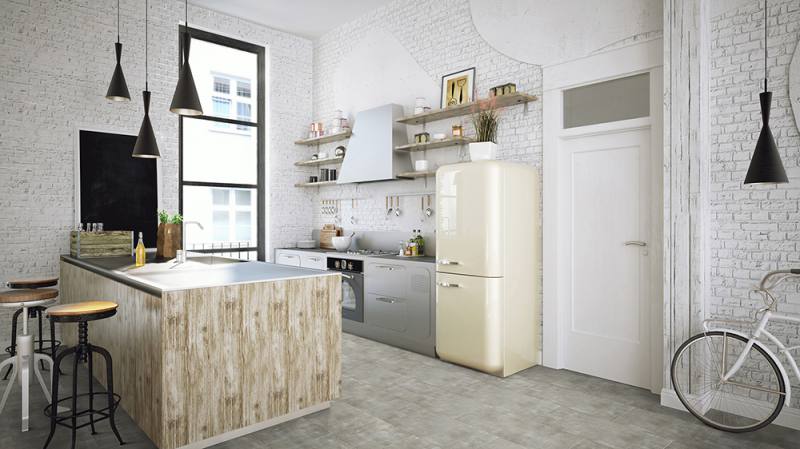
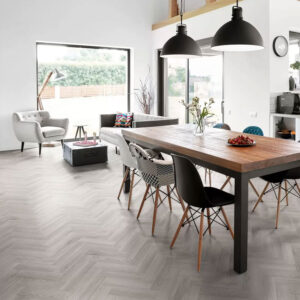
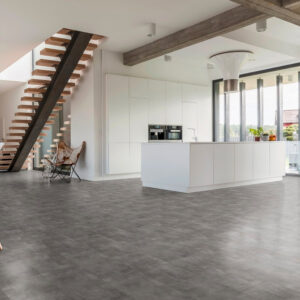
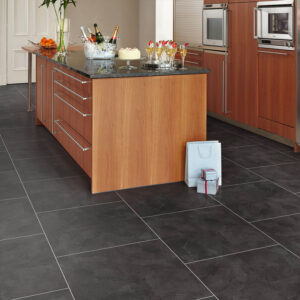
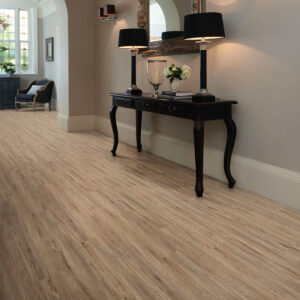
So What is LVT Flooring?
A new era of flooring has arrived, one that combines the charm of nature with the hardiness of modern technology. Luxury Vinyl Tile (LVT) flooring is this phenomenon, and it has taken the world by storm. In this article, we shall answer the question, “What is LVT flooring?” and delve into the intricate details of this marvellous innovation.
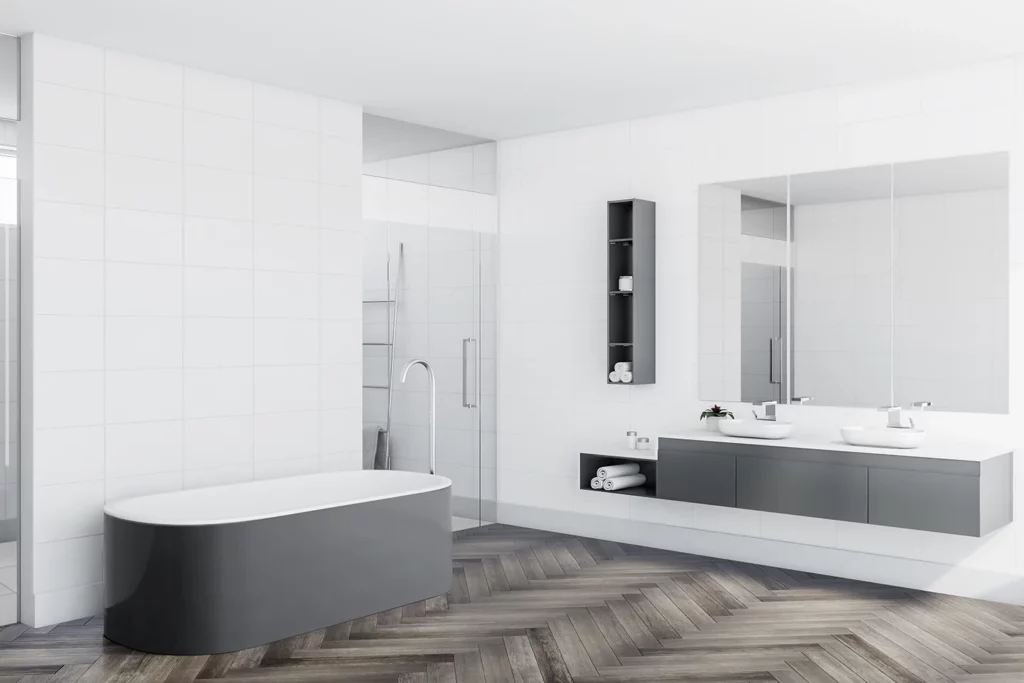
What is LVT Floor made of?
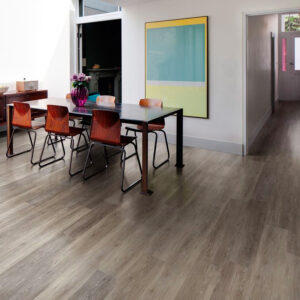
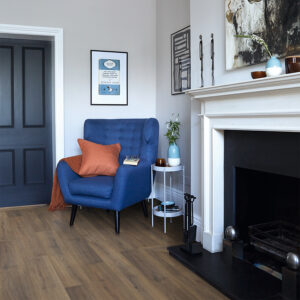
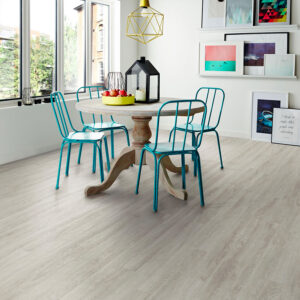
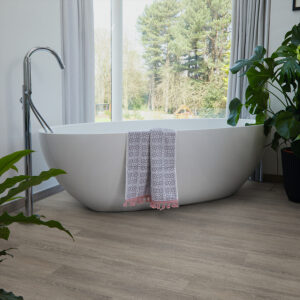
LVT flooring is also known as Luxury Vinyl Tile. It is made from multiple layers of vinyl, along with a printed design layer. This layer gives the flooring the look of wood, stone, or other natural materials.
The flooring is very durable and resistant to moisture. Additionally, it is easy to maintain. Therefore, it is an excellent choice for both residential and commercial spaces.
How Thick is LVT Flooring?
The thickness of LVT flooring varies, generally ranging from 2mm to 8mm. Thicker options offer better insulation and soundproofing, as well as increased durability.
How to Fit LVT Flooring
When asking what is LVT flooring the next question asked is how do you fit LVT flooring, fitting LVT flooring is similar to laying it. The primary difference lies in the type of installation method, such as glue-down or click-lock. For click-lock installations, simply align the tiles and apply pressure to lock them in place. No adhesive is required.
Installing Adhesive LVT Flooring: A Step-by-Step Guide
When it comes to installing LVT flooring that requires adhesive, it is essential to follow the correct process for a flawless and long-lasting result. Here is a step-by-step guide to help you install adhesive LVT flooring:
- Prepare the subfloor: Make sure the subfloor is clean, dry, and level. For uneven subfloors, you may need to use a self-levelling compound or plywood before laying the LVT.
- Plan the layout: Before beginning the installation, it is advisable to consider the layout of the planks or tiles in the room. Take into account any cuts you may need to make and follow the manufacturer’s guidelines regarding the orientation and starting point.
- Apply adhesive: Using a notched trowel spread the recommended adhesive on the subfloor as per the manufacturer’s instructions. Only apply adhesive to a small area at a time to prevent it from drying before the LVT is laid.
- Place the tiles: Begin laying the LVT flooring according to the manufacturer’s guidelines. Carefully position each tile or plank, ensuring they are aligned correctly and maintaining an expansion gap around the perimeter of the room.
- Roll the floor. Use a floor roller to press the LVT firmly into the adhesive. This ensures proper adhesion and eliminates air bubbles. Work consistently from one end of the room to the other, covering the entire surface.
- Clean up: Remove any excess adhesive immediately using a damp cloth, as recommended by the manufacturer. For a professional finish clean the joints between the planks or tiles.
- This will prevent adhesive residue from affecting the appearance of the finished floor.
Follow these steps to successfully install adhesive LVT flooring. You will achieve a beautiful, durable, and easy-to-maintain floor. It will serve you well for years.
How to Install Click LVT Flooring: A Step-by-Step Guide
Click LVT flooring is a type of installation method. It is also known as floating LVT. This method involves interlocking the tiles or planks without the need for adhesive. Here’s a guide on how to install click LVT flooring:
- Prepare the subfloor: Ensure the subfloor is clean, dry, and level. If necessary, use a levelling compound to even out any imperfections.
- Allow the LVT flooring to adjust to the temperature and humidity of the room for 48 hours before installation. This is known as acclimating the flooring. This helps prevent expansion or contraction issues after installation.
- Measure and plan: Measure the room and determine the layout of the LVT flooring. Account for any necessary cuts and plan for a 5-8mm expansion gap around the perimeter of the room.
- Begin installation: Starting at one corner of the room, lay the first row of LVT flooring, interlocking the short ends of the planks or tiles. Use spacers along the walls to maintain the expansion gap.
- Stagger the joints: Stagger the joints between rows for a more natural and visually appealing appearance. Cut the first plank or tile of each row to achieve the desired staggering.
- Install subsequent rows: Click the long edges of each plank or tile together, sliding the short ends into place as needed. Use a tapping block and rubber mallet to ensure a snug fit.
- Install the final row: Measure and cut the planks or tiles for the final row, ensuring the expansion gap is maintained. Use a pull bar to lock the last row in place.
- Add transitions and mouldings: Install any required transition strips or mouldings to cover the expansion gap and provide a finished appearance.
By following this guide, you can successfully install click LVT flooring in your home, creating a beautiful, durable, and easy-to-maintain floor.
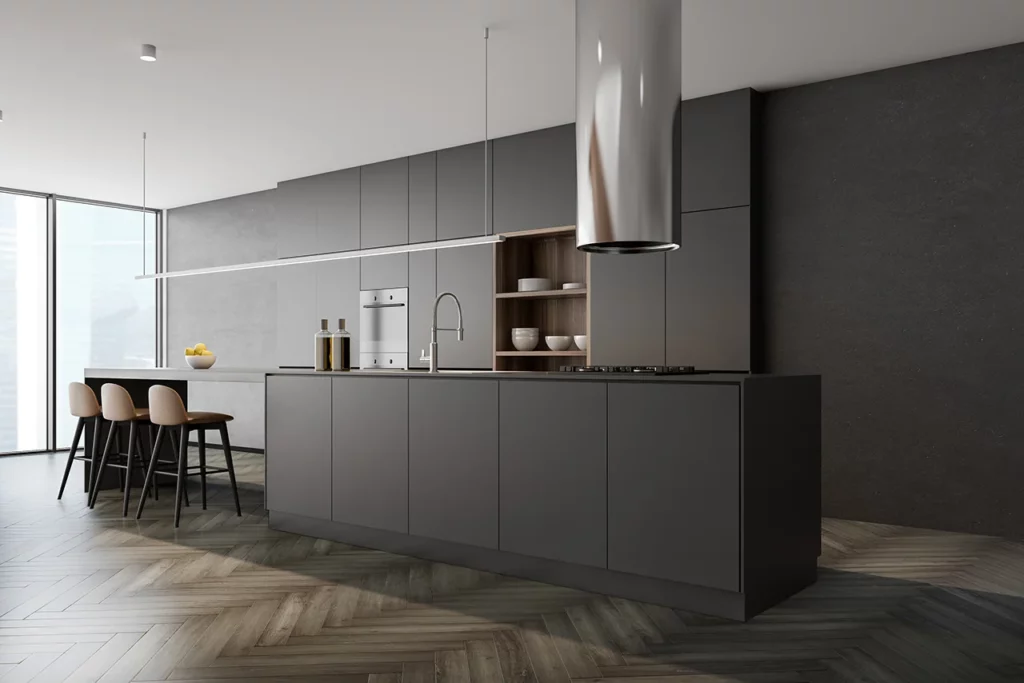
LVT Flooring Costs: An Overview
The cost of LVT flooring depends on various factors, including the brand, quality, and the specific product chosen. On average, LVT flooring prices range from £20 to £60 per square metre. However, this price can be higher or lower based on the factors mentioned earlier.
How Much Does It Cost to Lay LVT Flooring?
The cost of laying LVT flooring depends on the installation method, the complexity of the project, and labour fees. Professional installation costs typically range from £10 to £20 per square metre. Keep in mind that these costs can vary depending on the region and the specific requirements of the project.
How to Clean LVT Flooring: A Primer
Maintaining the pristine condition of luxury vinyl tiles is a breeze. Regular sweeping or vacuuming will remove dirt and debris. For a more thorough cleaning, use a damp mop with a mild, pH-neutral cleaner. Avoid using steam cleaners on LVT, as they can damage the adhesive and cause the tiles to lift.
The Best LVT Flooring in the UK: A Comparison of Top Brands
Luvanto: Elegance Meets Affordability
Luvanto’s reputation for high-quality, diverse offerings and affordability sets it apart from its competitors. Known for its versatile designs and exceptional performance, Luvanto’s LVT flooring is perfect for homeowners and commercial spaces alike. With a focus on both aesthetics and functionality, Luvanto provides customers with a stunning range of wood, stone, and abstract patterns that complement various interior styles.
The brand’s commitment to quality and easy maintenance ensures that its flooring remains a top choice for those seeking a luxurious yet practical solution.
Polyflor
Polyflor is celebrated for its wide range of wood and stone effect LVT flooring. With a multitude of ranges and colours, this brand ensures easy cleaning and maintenance.
CFS
CFS specialises in wood effect LVT, providing an affordable alternative to traditional hardwood flooring. Their extensive selection of wood lookalikes caters to diverse preferences.
Karndean
Though it comes at a higher price point, Karndean’s LVT flooring is synonymous with high quality and a vast range of options. Its popularity is a testament to the brand’s commitment to excellence.
When it comes to LVT flooring, there is something for everyone. Luvanto offers a range of options, including waterproof and fireproof flooring. In conclusion, LVT flooring is an excellent choice for those seeking a durable, easy-to-maintain, and stylish flooring option. With top brands like Luvanto, Polyflor, CFS, and Karndean, the possibilities are endless. So, when pondering the question, “What is LVT flooring?”, one might say it is the pinnacle of flooring innovation.
Jamie Hall, the driving force behind Flooring King's website as Director, leads a revolution in the flooring industry. With vast experience and unwavering dedication, Jamie transforms conventional practices. He pioneers advanced technologies to ensure client satisfaction and continually raises industry standards.


