
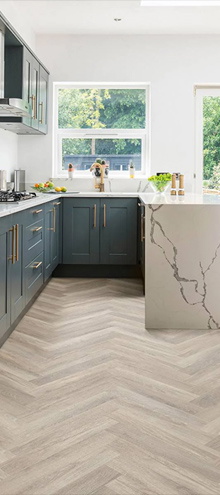
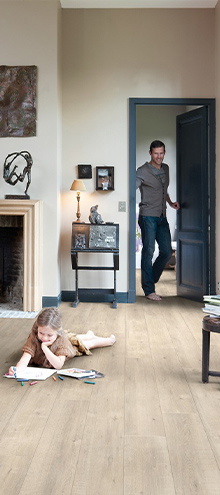
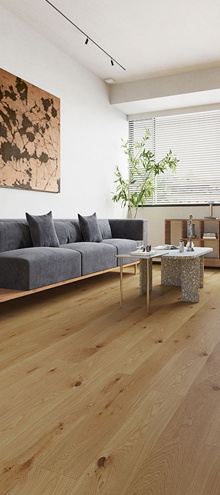


Vinyl flooring is a common choice for homes due to its durability, low cost, and its relatively simple installation compared to other materials. Whether you’re taking on a DIY project or hiring a professional team to lay your floors for you, it’s important to understand the process before you start.
In our guide, we’ll go over everything you need to know to lay vinyl flooring in your home. From preparing your tools and materials to showing you how to join vinyl flooring together, we’ll cover all the details and give you some bonus tips to ensure you get the perfect fit! Read on to learn the essentials before you lay a vinyl floor.
Preparing to lay your vinyl flooring
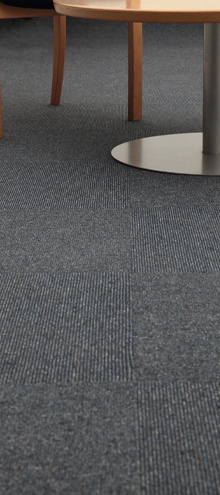
Before you lay your vinyl floor, you need to prepare your subfloor for installation. Since vinyl flooring is flexible and soft, any inconsistencies underneath your surface will be more noticeable and can lead to damage further down the line.
Remove any existing flooring in the room you’re looking to add your vinyl to, and thoroughly clean the subfloor beneath it. Vacuum or sweep any dirt and debris that could obstruct your installation away. Then, if there are any gaps, cracks, or holes in your subfloor, use a suitable mortar or other filler to create an even surface. Be sure to sand down any higher spots or use a self-levelling compound to ensure a flat subfloor.
You should also allow your vinyl to adapt to the atmospheric conditions of your room before you apply, as any expansion after you’ve laid it can lead to damage. Unpack your materials in the chosen room, and leave them to acclimate for 24-48 hours before you begin the installation.
Your vinyl flooring may also need an underlay before it’s properly installed. Make sure to check your manufacturer’s instructions to see whether this applies to your chosen vinyl.
How to install vinyl flooring
Once your subfloor is prepared, you’re ready to start installing your vinyl flooring. Here are some tools to make sure you have available before you begin:
- Sharp utility knife
- Scissors
- Ruler/tape measure
- Straight edge/T-square
- Vinyl flooring adhesive
- Seam roller
- Scribing gauge
1 – Measure your room and start fitting against the longest wall
Measuring your room for flooring is essential for getting the perfect fit with your vinyl. Make sure you know the length of your walls, and prepare a suitable amount of vinyl for installation.
Once you’re sure you have a suitable amount of vinyl, you can begin to lay it across your room, starting by aligning the longest edge of your sheet with the longest clear wall in the area. Your skirting may not be straight, so use a scribing gauge to run along your wall and etch the shape of your wall directly onto your vinyl. You can then cut along the line that has been left and align the sheet to the wall.
2 – Cut your corners and push your vinyl against the skirting
As you roll your vinyl out, you’ll notice that the corners of your sheet are likely to fold inwards instead of lying flush with your walls. To get the best fit, you’ll need to cut a triangle-shaped wedge in each of your corners using scissors.
Once your corners have been cut, any excess vinyl on the edges of your sheet should be able to stand against your skirting when pushed. Using a straight edge such as a T-square or bolster chisel, trace along the corners where your floor and skirting boards meet to make a crease, allowing the extra vinyl to curl upwards.
3 – Start trimming your vinyl
When all your vinyl has been laid and pushed against your skirting, it’s time to trim it to size. Using a sharp utility knife, carefully follow the crease across the corner of your room, holding your knife at a slight angle. This will leave you with the perfect length of vinyl to cover your floors. You can also keep the excess vinyl that has been cut in case any extra materials are needed for repairs in the future.
4 – Apply your adhesive (if needed)
Some heavy duty vinyl floors are designed to stay flat and won’t lift or shrink when the atmosphere of your room changes. If you’re using one of these designs, you won’t need to apply an adhesive, but it’s essential for other variants.
After fitting your vinyl, roll half of it back and apply an even amount of adhesive, making sure you’re using a type that has been recommended by the manufacturer. Once this has been applied, you can roll the vinyl back into place and ensure it’s correctly positioned. Then, repeat the process for the other half of your vinyl. Finish by pressing your vinyl into place using a soft broom or floor roller.
If you’re using a cushioned vinyl, you’ll only need to apply your glue around the edges and joins rather than covering your whole sheet.
Installation tips for the perfect vinyl floor
You should now know how to fit vinyl flooring, but for the best installation possible, make sure to follow these handy tips and tricks.
Fitting vinyl around obstructions
You may find that some items get in the way of installing your floors, such as toilets in bathrooms or radiator pipes in living rooms. How do you lay vinyl flooring around these?
To get around basins, roll your vinyl out as far as possible before stopping at the base of the toilet. Fold your vinyl back on itself, and make a cut from the edge that runs to where the centre of your toilet’s pedestal will be. Once you’ve rolled the vinyl out, make a series of cuts around the base until your sheet lies flat, being sure not to cut too far in. Then, use a straight edge to make a sharp crease in the vinyl around the toilet
This process can be repeated on a smaller scale for radiator pipes, although your cuts will obviously need to be much smaller and more precise. You can then trim the cut pieces to get a smart looking finish.
How to join vinyl flooring sheets
If you’re laying multiple sheets of vinyl in a room, getting a clean seam between the two of them is important. If your sheets are from the same roll, make sure you line the patterns up before you join the two of them, as clashing colours can make your seam obvious. If you’re struggling, you can overlap one sheet on another until the patterns match, then cut through both layers with a utility knife for a clean finish.
Once you’ve made a cut, fold the edges of each sheet back without repositioning them, and apply your adhesive or tape. Then, fold them back into place and press down firmly.
Make sure you order more vinyl than you need
What makes vinyl flooring such a popular option is its durability, but accidents are bound to happen, and you may need to patch up damage to your floors in future. That’s why it’s important to make sure you order roughly 10% more vinyl than is necessary for your room, so you can make sure any potential tears and gouges are patched up with sheets from the same roll to keep your patterns consistent.
Measure your space multiple times
‘Measure twice, cut once’ as the old saying goes. If you use too little vinyl in your room, you’ll be leaving your subfloor exposed and risking damage over time. Nobody wants to have to wait to buy more vinyl if they underestimate the scale of their project, so be totally sure you understand the dimensions of your room ahead of time.
Ensure your patterns line up
A rushed installation can leave your floors looking patched together and inconsistent, so for the best visual appeal possible, it’s crucial to match your patterns when cutting your vinyl. You can make this process easier by overlapping your sheets to look for where your design repeats itself, or by cutting along easy to remember lines, such as the grout lines on your pattern.
Hopefully, our guide has shown you how to fit vinyl flooring with ease, but if you’re ever struggling to replace your floors, don’t hesitate to contact a professional team if you’re worried about causing any issues. If you need any more tips for laying your floor, you can read our breakdown of the most Googled vinyl flooring questions for extra advice.
Whether you’re looking for stone effect vinyl, or giving your room a traditional look with wood effect vinyl, Flooring King has you covered. We offer quality materials at low prices, with our helpful team ready to bring your design ideas to life, no matter how big or small. Get in touch today, and see what we can do for you.


