
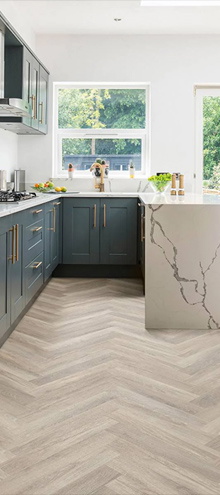

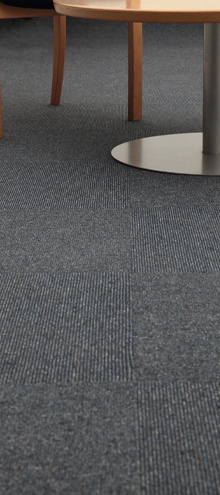

Well-known for their hard-wearing nature and durability, both LVT flooring and vinyl flooring are some of the most popular flooring choices for homeowners looking for an affordable but long-lasting surface underfoot.
However, even the strongest flooring materials can be damaged if you’re not careful, and that holds for vinyl flooring of all kinds. Fortunately, thanks to the advanced methods used to make modern vinyl and LVT, it’s also possible to repair scratches on your LVT flooring so that your planks look practically as good as new.
From advice on how to remove scratches from LVT flooring that are surface level, to tips on how to fix deep scratches in vinyl flooring tiles, we’ve covered everything you need to know about repairing this type of surface in your home.
Does LVT scratch easily?
Although LVT can be scratched, generally speaking, luxury vinyl tiles are considered to be very durable. This is because LVT is formed of multiple layers, with a hardy wear layer at the very top designed to protect the photographic layer beneath.
As a result, all types of vinyl floors have a reasonable degree of scratch resistance that can prevent surface-level damage. However, scratch-resistant is not the same as scratchproof, hence why it is possible to scratch LVT flooring if you’re not careful.
How easy is it to scratch vinyl flooring?
Similarly to LVT, standard sheet vinyl flooring is scratch-resistant to a certain extent. But unlike LVT, which is much thicker, sheet vinyl only has a thin wear layer. This means it’s much easier to scratch and gouge, while simultaneously making it more difficult to hide and repair serious damage to its surface.
What causes scratches on LVT flooring?
Like with any kind of flooring, there are a variety of things that can lead to scratches being left on your LVT planks. For example, light scratches will often be left behind by dirt, general wear-and-tear, pets scrabbling around on the floor, and a lack of proper LVT maintenance and cleaning.
On the other hand, more noticeable damage and deeper scratches are typically left as a result of dragged furniture, dropped objects, and sharp items being accidentally dragged along the floor.
To put it another way; no matter how careful you are with your new floor, there’s a good chance that you’ll eventually find scratches and damage on your vinyl over time.
How to remove scratches from LVT flooring
Should you be unlucky enough to spot a prominent scratch or two on your LVT floor, don’t worry! While it might look serious to begin with, the majority of LVT floor scratches tend to be surface-level and can be swiftly remedied with the right know-how.
However, before you leap to repairing any marks you spot with a heavy-duty vinyl repair kit, it’s always worth assessing how serious the scratch actually is – that way, you can make sure you give the scratch in question the right treatment to patch it up.
With that in mind, below are the different steps you should take when encountering various depths of scratches in your LVT:
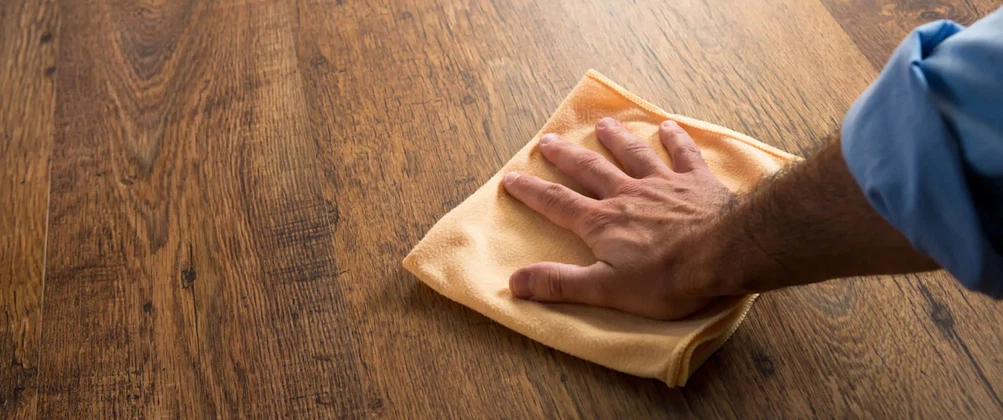
- Fine marks and scuffs – rarely noticeable unless you’re standing in a specific spot, fine scratch marks are typically a result of dirt getting stuck in the grooves of your LVT’s wear layer. So, all you have to do to remove them is to get a bucket of warm, soapy water, wipe at the mark in circles until it rubs away, and then pat your floor dry. Alternatively, you could carefully sand the mark away, though doing so can run the risk of hurting your wear layer.
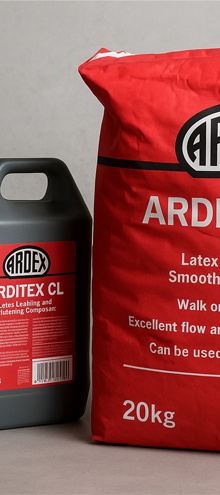
- Light scratches – if a scratch is visible but not too deep, then the best solution is to use a scratch repair kit or vinyl floor sealer and filler to close up the gap and prevent further damage to the photographic layer. For application, follow the specific instructions given by the floor sealer you’re using. It may also be possible to use a burnishing tool to seal a light scratch shut, but it requires careful precision to avoid further tile damage.
- Deep scratches – in rare cases, you may find that a scratch on your floor goes all the way through the wear layer and into the photographic layer, meaning you’ll need to purchase a vinyl tile scratch repair kit to fix it properly. Again, the instructions on how to do this will be explained by your chosen product – just make sure you purchase a kit that is a suitable colour for your floor tile design.
- Visible tile damage – finally, should one of your LVT planks has a wide gouge or chip damage, then the best option is to replace that tile with a new one. Click LVT is brilliant for this as you can remove your floor tiles without issue to replace the damaged ones directly before relaying your floor. However, if you used glue LVT, this may be slightly trickier to do.
How to remove scratches from vinyl flooring
If you have sheet vinyl on your floor instead of LVT and need to repair a scratch in your tiles, then the good news is that you can use the same processes as above for fine and light scratches, as well as for sheet vinyl tiles that are severely damaged.
How to fix deep scratches in vinyl flooring
In some cases, despite the visible damage on display, it may be possible to fix deep scratches in a vinyl floor tile without replacing it – provided that the scratch is relatively narrow and does not take up a wide area.
To make the repair, thoroughly clean the scratched area of debris and then carefully cut the groove out. Next, apply seam sealer to the slit, leave it to dry for the recommended time, and then use a vinyl repair kit to complete the process to ensure the wear layer is properly sealed.
What should you avoid when trying to remove scratches from LVT flooring?
Just as you would when caring for and repairing real wood and stone floors, there are certain things that you should avoid when trying to remove scratches from LVT flooring to prevent further damaging your planks.
First and foremost, we would not recommend using a burnishing tool of any kind to seal a scratch unless you know exactly what you’re doing. Otherwise, you may run the risk of melting your LVT’s wear layer and leaving additional blemishes behind that are much harder to remove.
On top of this, when cleaning away fine scratches, do not use any abrasive materials or harsh chemicals. Again, these could remove your tile’s wear layer, stain your floor, and might end up with you having to completely replace the tile.
How to reduce scratches on LVT flooring
Last, but not least, if you want to reduce the chance of finding scratches on your vinyl and LVT flooring in the future, you might want to consider trying some of the following tips:
- Use rugs and mats – rugs and mats are not only a great way to save your feet from a cold floor in the morning, but they’ll also act as an additional protective layer for your floor against dropped items, foot traffic, and stains.
- Use furniture pads – a simple alternative solution to rugs, furniture pads adhere to the base of your furniture’s legs to provide a soft underside that prevents scratching when moved.
- Sweep your floor regularly – like any space in the home, regular sweeping and hoovering can help to keep dirt and debris to a minimum, reducing the chances that they’ll be worked into your floor.
Find fantastic LVT offers in our range
As you can see, it’s actually a lot easier to repair scratches in your LVT and vinyl floors than you might think. However, if you find that your scratches are too deep, or you simply want to replace your ageing floor, then why not head over to the Flooring King range today?
Whether you’re after realistic wood LVT or a classy stone alternative, we’ve something for everyone in our collection. Start browsing today to find the perfect design for your LVT floor, and don’t forget to check out our other help and advice guides, like our complete guide to LVT flooring, how to lay luxury vinyl tiles, and more!


