A flooring order can only be as accurate as the measurements behind it. Knowing how to measure a room for flooring before you choose your finish, fitting method or format helps you avoid the two expensive mistakes: running short mid-installation or paying for far more material than you need.
The good news is that most rooms can be measured with a tape measure, a rough sketch and a few careful calculations. Measure twice, write everything down, and allow for the cuts that naturally happen around walls, doorways and awkward corners.
What you need before measuring
Use a steel tape measure rather than a flexible sewing tape, plus paper, pencil and a calculator. A laser measure is useful in larger rooms, but it is worth checking key dimensions with a tape measure, especially where walls are not perfectly straight.
Measure the floor itself, not the dimensions shown on an estate agent’s plan. Plans are useful for orientation, but they may exclude alcoves, chimney breasts or built-in cupboards. If old flooring is still down, measure from skirting board to skirting board where possible. For a replacement floor, remember that removing skirting boards can slightly change the final coverage needed.
Write each measurement in metres to keep the maths simple. If your tape shows centimetres, convert them by dividing by 100. For example, 425cm becomes 4.25m.
How to measure a room for flooring in square metres
For a straightforward square or rectangular room, measure the longest length and the widest width. Then multiply them together:
Length × width = floor area in square metres
A room measuring 4.20m long by 3.60m wide is 15.12m².
Do not assume opposite walls are identical. In older properties especially, a room may be slightly wider at one end. Measure the width in two or three places and use the largest figure. This gives you a safer ordering quantity and reduces the risk of a narrow strip being left uncovered along one wall.
If the room includes a doorway, measure through it if the new floor will continue into the next space. If the doorway marks the end of the installation, measure only to the threshold or where the flooring transition will sit.
Measure lengthways with your chosen flooring in mind
The direction of boards, planks or tiles affects how much cutting is needed. Long planks are often laid towards the main light source or along the longest wall, although adjoining rooms, hallways and visual preference can change that decision.
For glue-down LVT planks or tiles, a planned layout can minimise small edge pieces, but it still requires an allowance. Patterned finishes, herringbone designs and diagonal layouts need more material than a simple straight lay.
Measuring L-shaped and awkward rooms
Irregular rooms are easier to measure when you split them into simple rectangles. Draw a basic plan and label every section. It does not need to be to scale, but it must show where each measurement begins and ends.
For an L-shaped room, calculate the two rectangular sections separately, then add them together. For example, if the main section is 4m x 3m, its area is 12m². If the return is 2m x 1.5m, its area is 3m². Your total area is 15m².
The same method works around bay windows, alcoves and chimney breasts. Break the floor into manageable shapes, calculate each one and combine the results. A bay window can usually be treated as a rectangle for ordering purposes if the difference is small and your wastage allowance covers the trimming. For a larger angled bay, measure each section carefully and speak to an expert before ordering if you are unsure.
Do not deduct every tiny obstacle automatically. A boxed pipe or small fixed cupboard may use little material, while the cuts around it generate waste. Larger permanent kitchen units, islands or fitted wardrobes can be excluded if flooring will not run beneath them. This depends on the product and fitting plan. Floating click systems generally need an expansion gap around fixed objects, while some glue-down products can be fitted more precisely around them.
Add the right wastage allowance
Your calculated room area is not always your order quantity. Flooring is supplied in packs, rolls, planks or tiles, and every installation creates offcuts. Wastage is not a sign of poor fitting. It is the material needed to make accurate cuts and keep the finished layout looking balanced.
As a practical starting point, allow:
- 5% — straightforward rectangular rooms with a straight-lay plank or tile.
- 7.5–10% — irregular rooms, multiple doorways, alcoves or more complicated layouts.
- 10–15% — herringbone, diagonal or other patterned layouts involving significantly more cutting.
- Product-specific allowance — patterned carpet/sheet vinyl, where pattern repeat and joins can substantially affect the amount required.
Take the room area and multiply it by your allowance. A 15.12m² room with 10% wastage requires 16.632m² of flooring. In practice, you would round up to the next full pack quantity, never down.
Room area × wastage percentage = required flooring
15.12m² × 1.10 = 16.632m²
Keeping a few spare planks, tiles or carpet tiles is also sensible. Product batches, shades and designs can change over time. A small reserve makes a future repair far easier if a surface is damaged by a dropped pan, a pet or heavy furniture.
These figures are general guides, always check the manufacturer’s recommended wastage allowance before ordering.
Check pack coverage, roll width and batch details
Pack coverage matters more than the number of planks in a box. One product may cover 1.76m² per pack, while another covers 2.22m². Divide your required area, including wastage, by the coverage shown per pack, then round up.
Using the earlier example, 16.632m² divided by 2.22m² equals 7.49 packs. You would order eight packs, providing 17.76m² in total.
Sheet vinyl and carpet need to be calculated differently because they are supplied in fixed roll widths. Measure the room at its widest and longest points, including alcoves and doorways, then consider the available roll widths, direction of the material and where any joins will sit. Patterned products may require additional material to allow the design to match correctly across joins..
For several rooms, calculate each room separately before deciding whether offcuts can be used elsewhere. This can save money, but only if the pieces are large enough, the direction works and any design or pile direction remains correct. Order all visible connected areas from the same production batch where possible, as minor shade variation can occur between batches.
Measure transitions, thresholds and finishing details
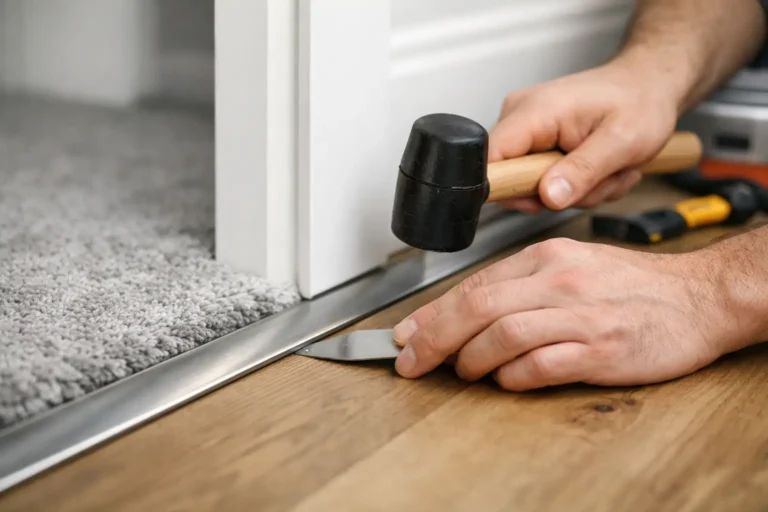
Floor area is only one part of a successful order. Count doorways and measure the width of each threshold so you can plan suitable finishing profiles. Check where your new floor meets carpet, tile, an entrance mat or a different floor height.
Measure skirting board runs if you are fitting scotia or beading, and note any radiator pipes, floor vents and unusual door frames. These details do not usually change the square metre calculation much, but they affect the accessories and cuts needed on fitting day.
If you are choosing a floating floor, check door clearance before ordering. A thicker board plus underlay may mean internal doors need trimming. For glue-down LVT, assess whether the subfloor needs smoothing compound or another preparation step. The floor beneath is as important as the floor you see.
A quick measuring check before you order
Read your sketch from the doorway around the room and confirm every wall, recess and return has a measurement. Recheck the largest width and length, add your wastage, and round to full packs or the correct roll width. If your final figure seems surprisingly low, it usually is worth checking again.
For multi-room projects, label each room clearly and keep the calculations separate until the end. This makes it easier to select the right product quantity for bedrooms, hallways and kitchens with different fitting demands. It also gives you a clearer view of where a durable, waterproof finish or a soft, quiet surface will earn its keep.
A few extra minutes now make choosing and fitting your new floor far more straightforward. If an awkward layout, pattern or roll calculation leaves you uncertain, share your room dimensions with the Flooring King team before placing the order. Practical advice is cheaper than a second delivery.